In this section you can find a set of concepts that will help you understand how xMoney handles payments, so that you can integrate our payment method without any trouble.
Please note the following limitations of xMoney Crypto Payments:
- ⏰ Our payment confirmation can take up to 2h;
- 🌍 Our Payment Widget is only available in English.
Our payment flow is asynchronous; the customer chooses the cryptocurrency and issues a transaction in the respective blockchain, sending the requested funds to the address we provided.
Once we detect the pending transaction, which usually happens in a matter of seconds, we recognize the payment and redirect the user to the merchant success callback URL.
Upon confirmation of the transaction, which can take up to 2 hours, we send a notification to the merchant store or website via a webhook.
In more detail, this flow has 6 stages:
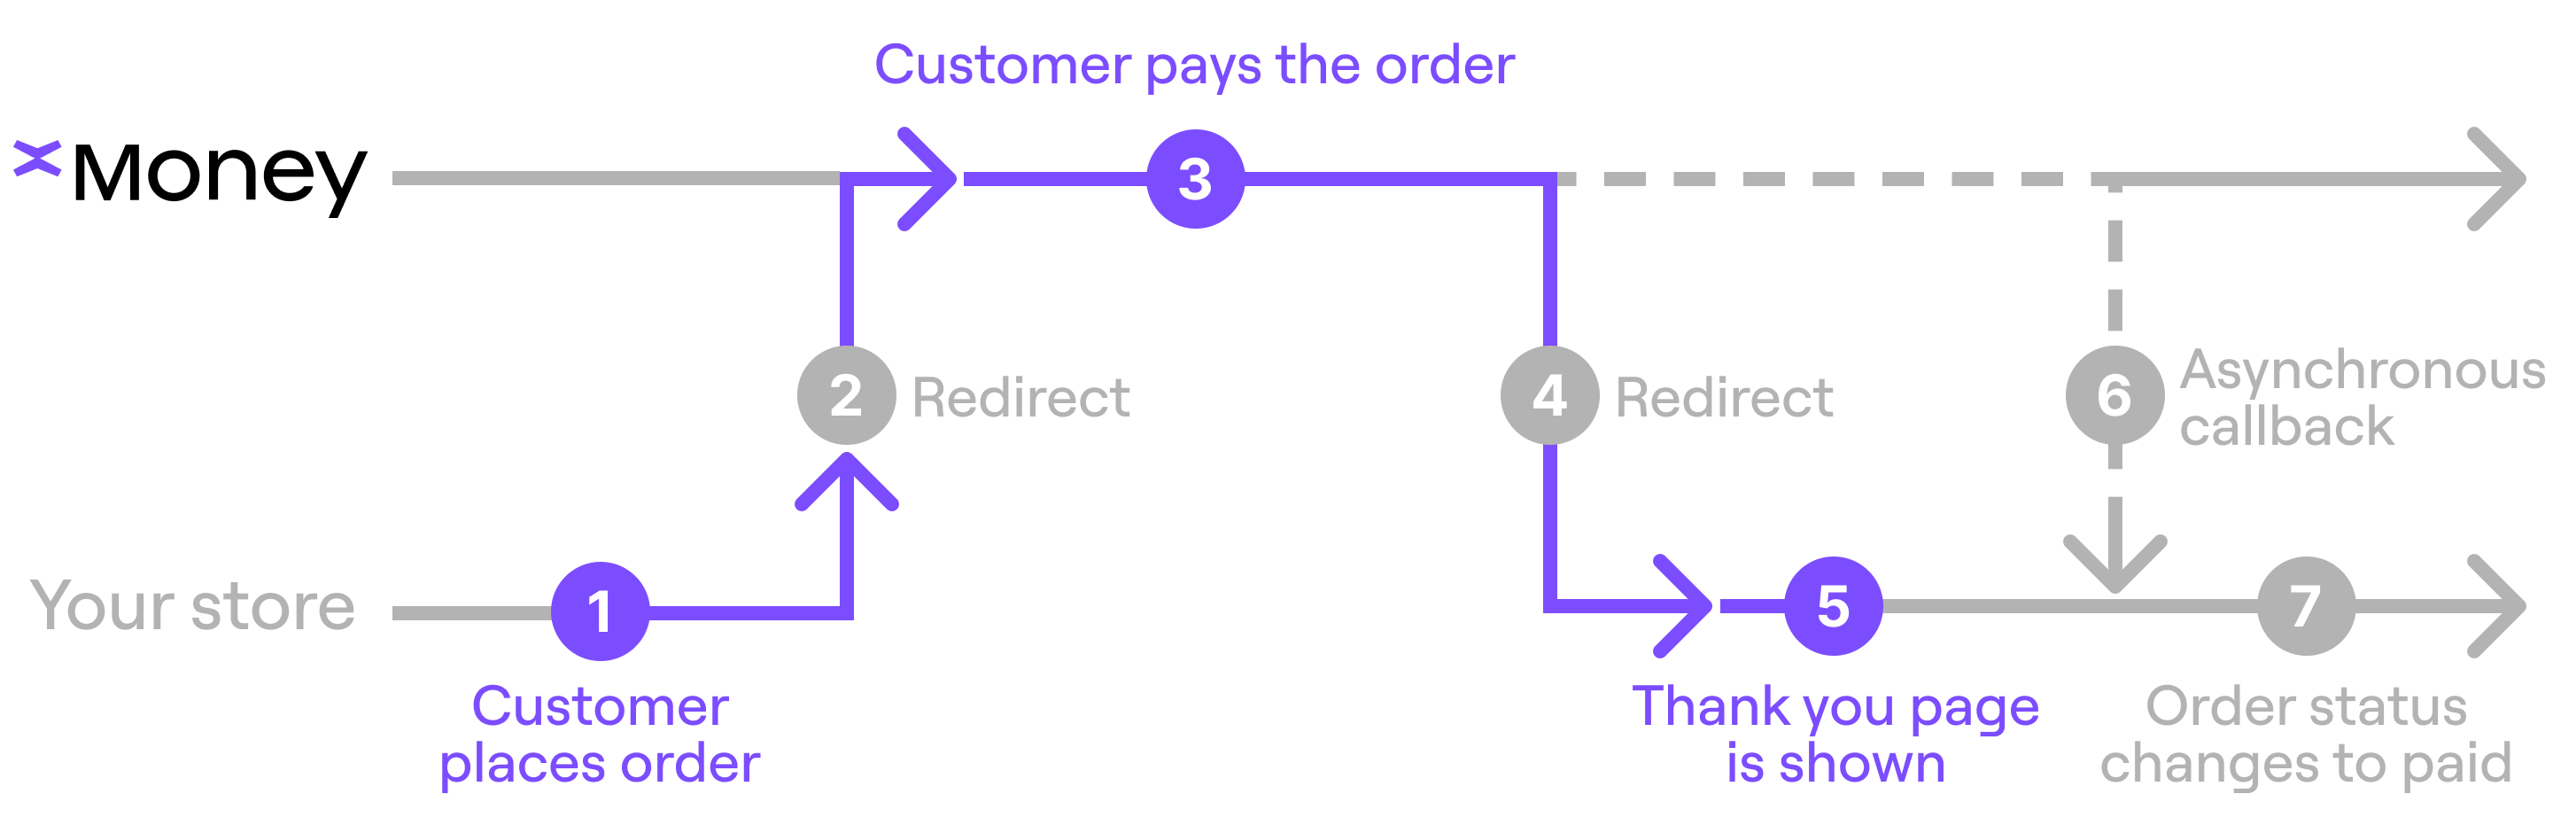
- [Merchant] On checkout, the merchant system sends the order details to create it on our server, getting a
redirect_urlin the response (see the create order endpoint). - [Merchant] Redirects users to the provided URL, which shows them the xMoney Payment widget.
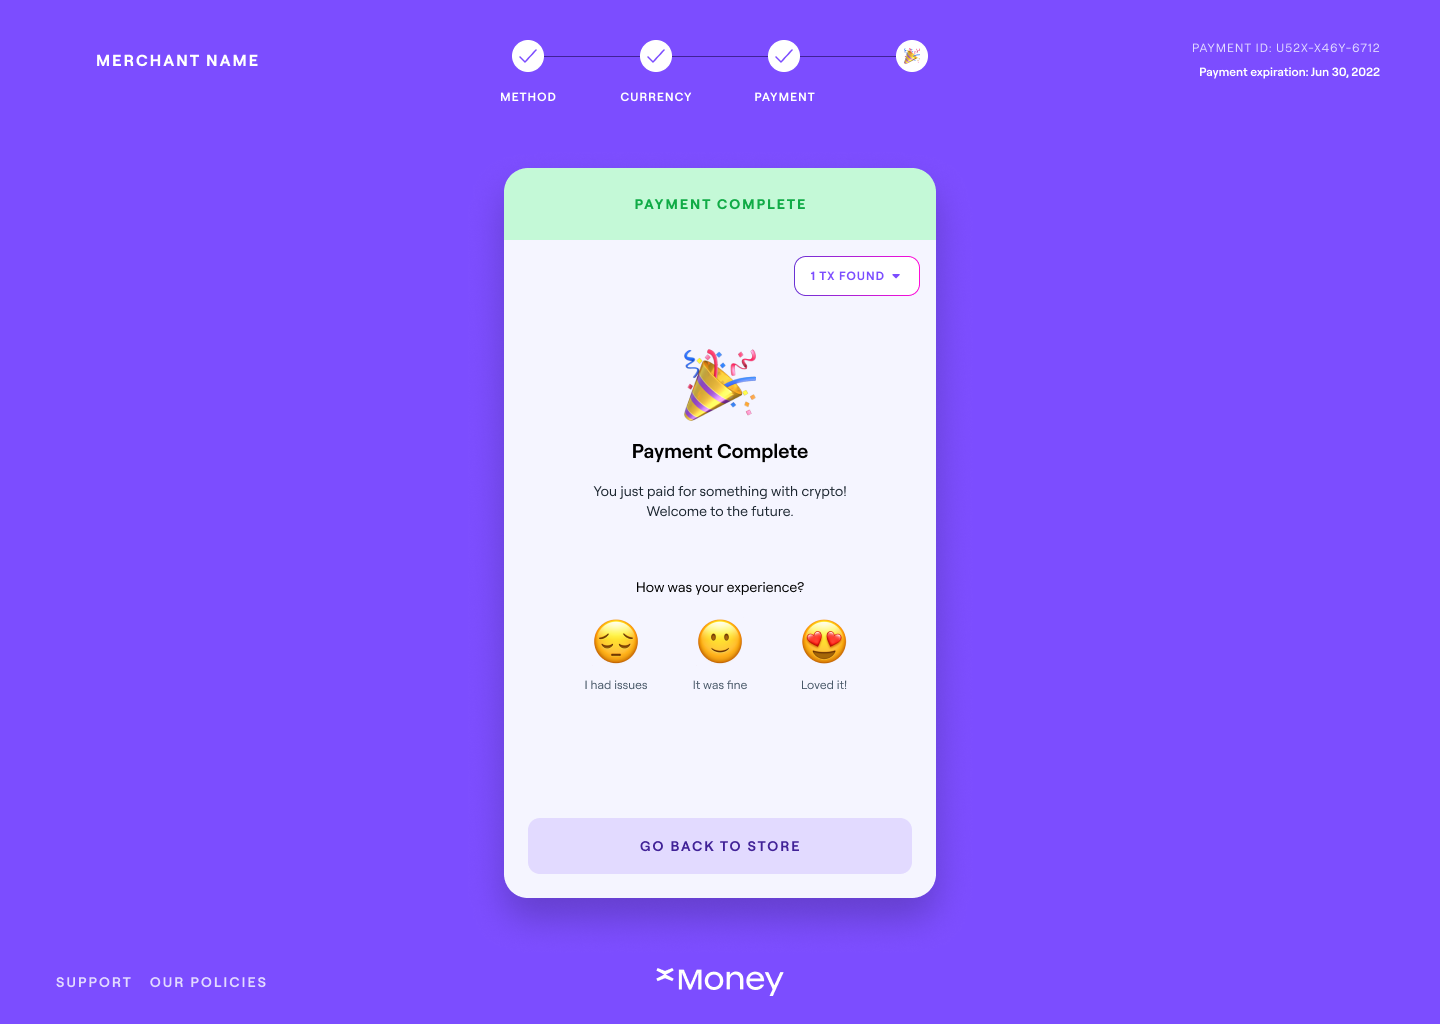
- [xMoney] Users pay for the order, seeing a "Payment Complete" message. xMoney also sends them an email with the detected payment details. This completes the user interaction.
- [xMoney] Redirects the customer back to the
return_urlprovided when the order was created. - [xMoney] It takes some time to confirm transactions (minutes or hours, depending on the blockchain). Once confirmed, xMoney sends an HTTP request to the Merchant system notifying the payment was received.
- [Store] Verifies and validates the request, and, if valid, finalizes the order.
To optimize conversions and provide a seamless payment experience, follow these best practices when integrating xMoney into your checkout page:
Use one of the following options to clearly indicate crypto payment availability:
- "Pay with Crypto"
- "xMoney — Pay with Cryptocurrencies" (if the xMoney logo is unavailable)
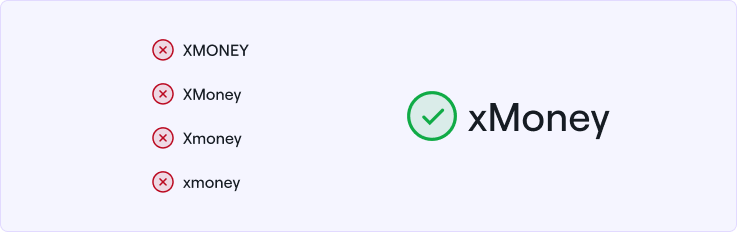
Ensure that "xMoney" is spelled correctly, as shown below:
Provide clear instructions to help customers understand the checkout process:
"You will be redirected to the xMoney payment widget, which works with all major crypto wallets. This allows you to complete your purchase securely using Bitcoin, Ethereum, Tether, and other cryptocurrencies."
For more information you can include a link like: What is xMoney?
To maintain brand consistency and improve user trust, we recommend displaying the xMoney logo.
Download official logos here.
The best way to learn about what we do is by trying it out yourself. For this, we recommend you to use MultiversX Devnet wallet. To use it, you will need to get Devnet funds (or "fake" EGLD, notice Devnet instead of Testnet). After creating your wallet, on the left menu, find section "Tools". Below, click on "Faucet". Then click "Request tokens". This should get you 5 xEGLD (which is the "fake" EGLD you will need to test in Devnet). If that faucet is not working, you can try this one (don't forget to choose Devnet, as for MultiversX, it is the network we use for testing).
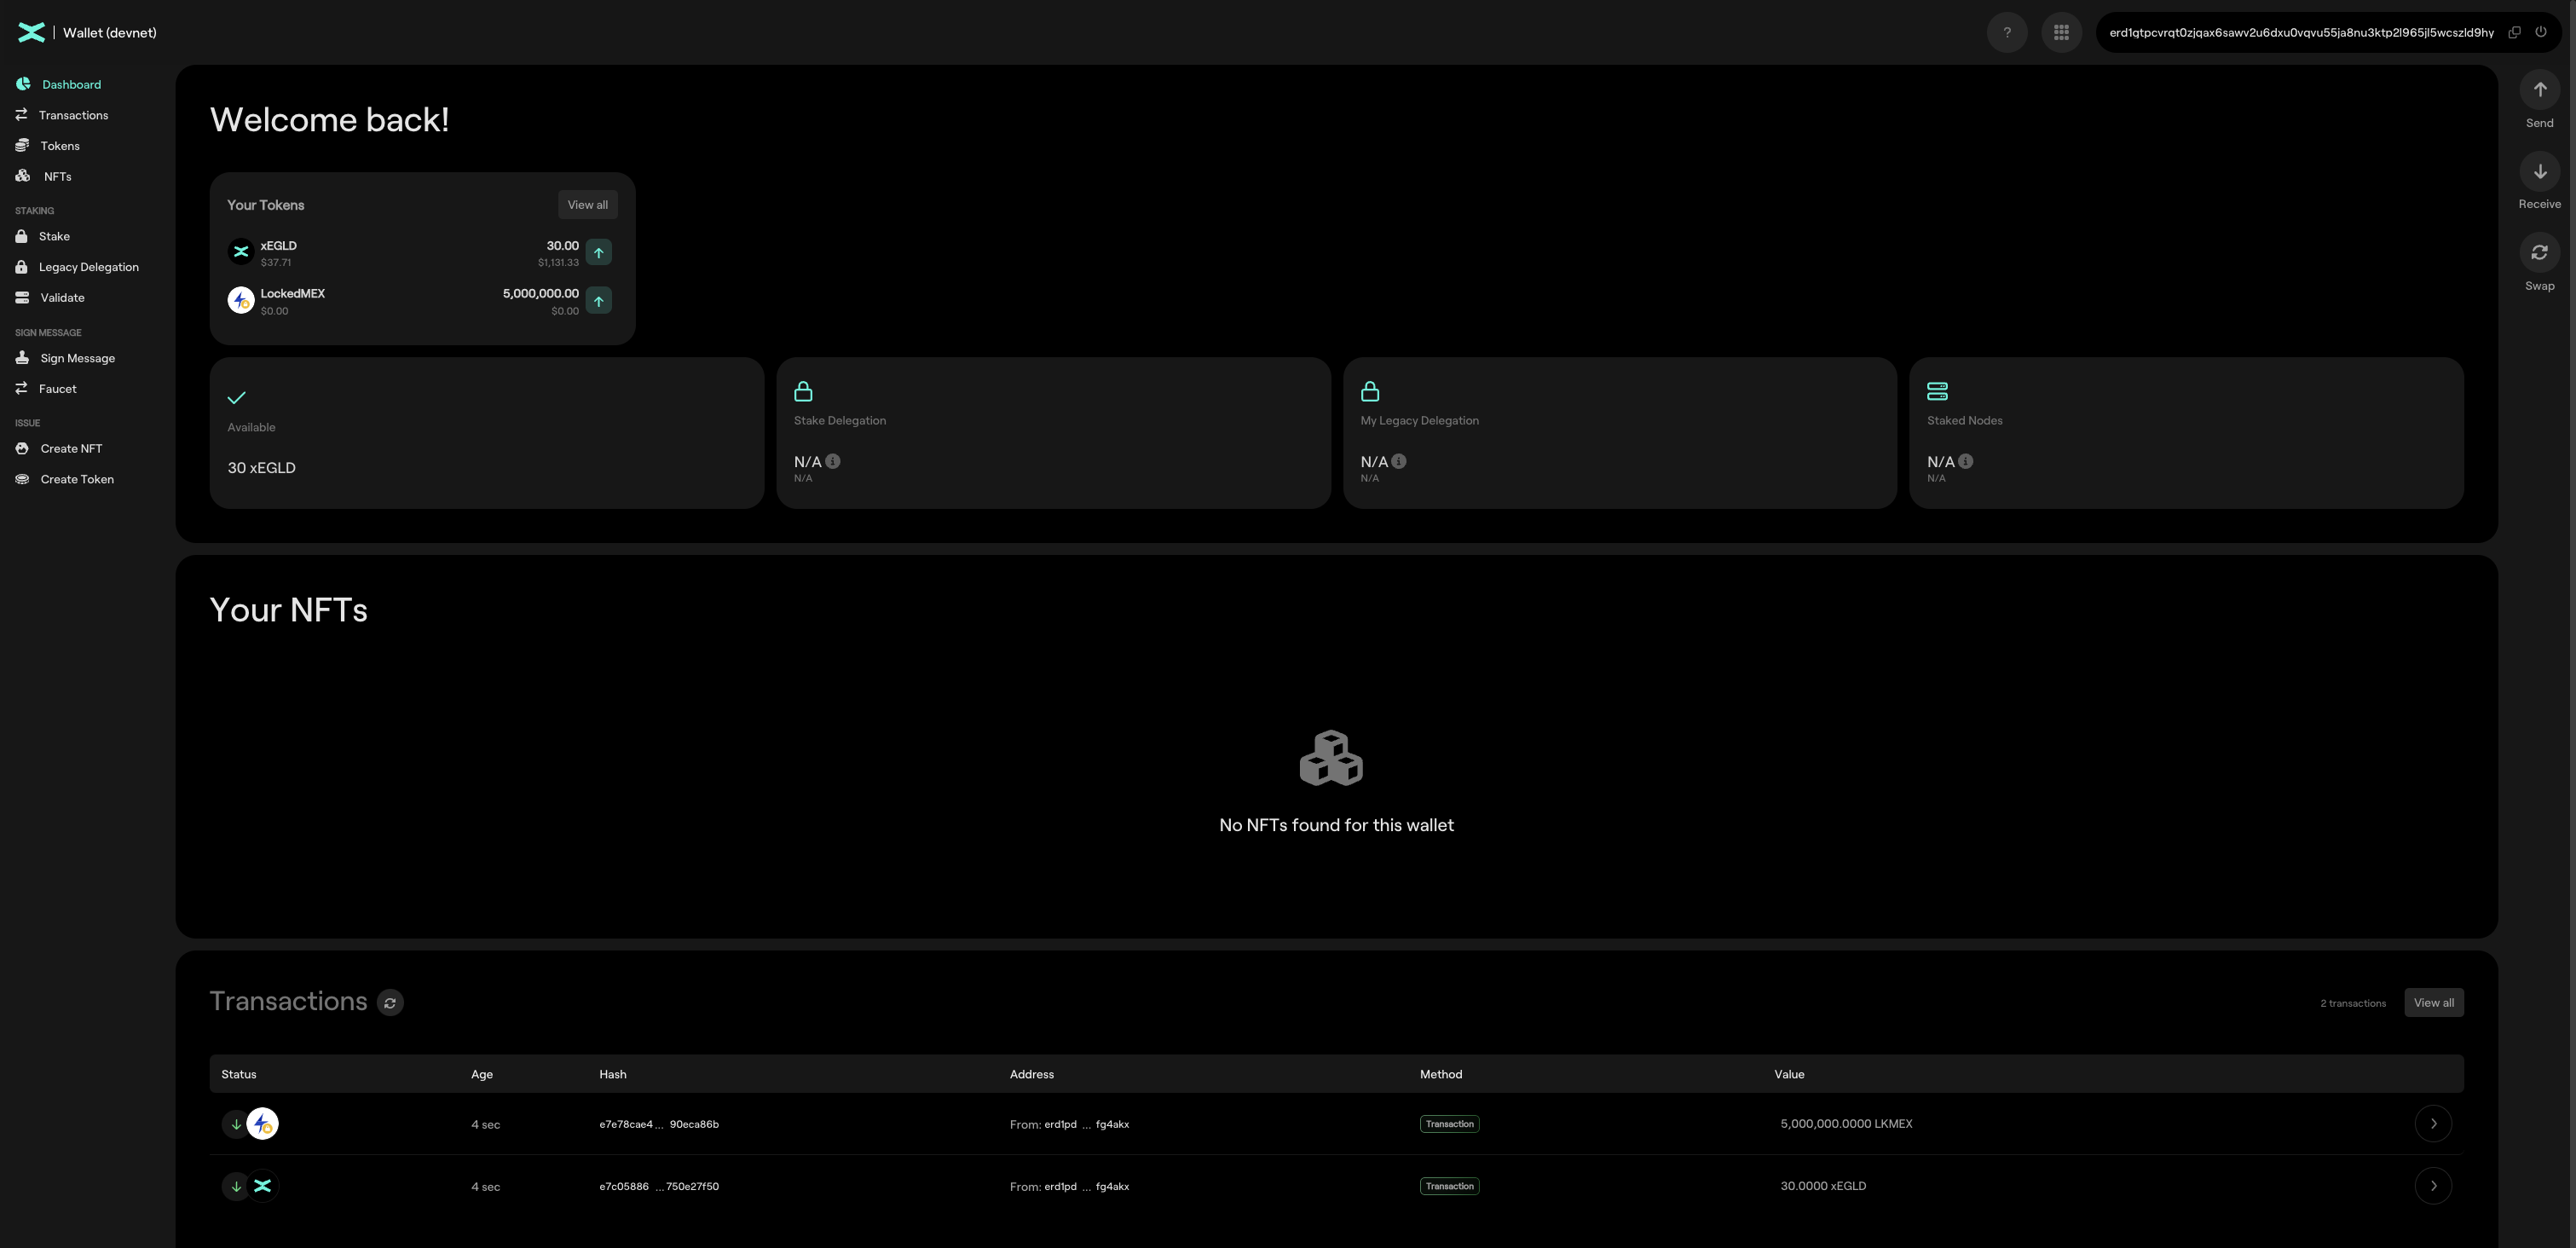
You can also use MetaMask with some fake ETH, just make sure to change to the Sepolia Testnet, which is what we use in our sandbox environment.
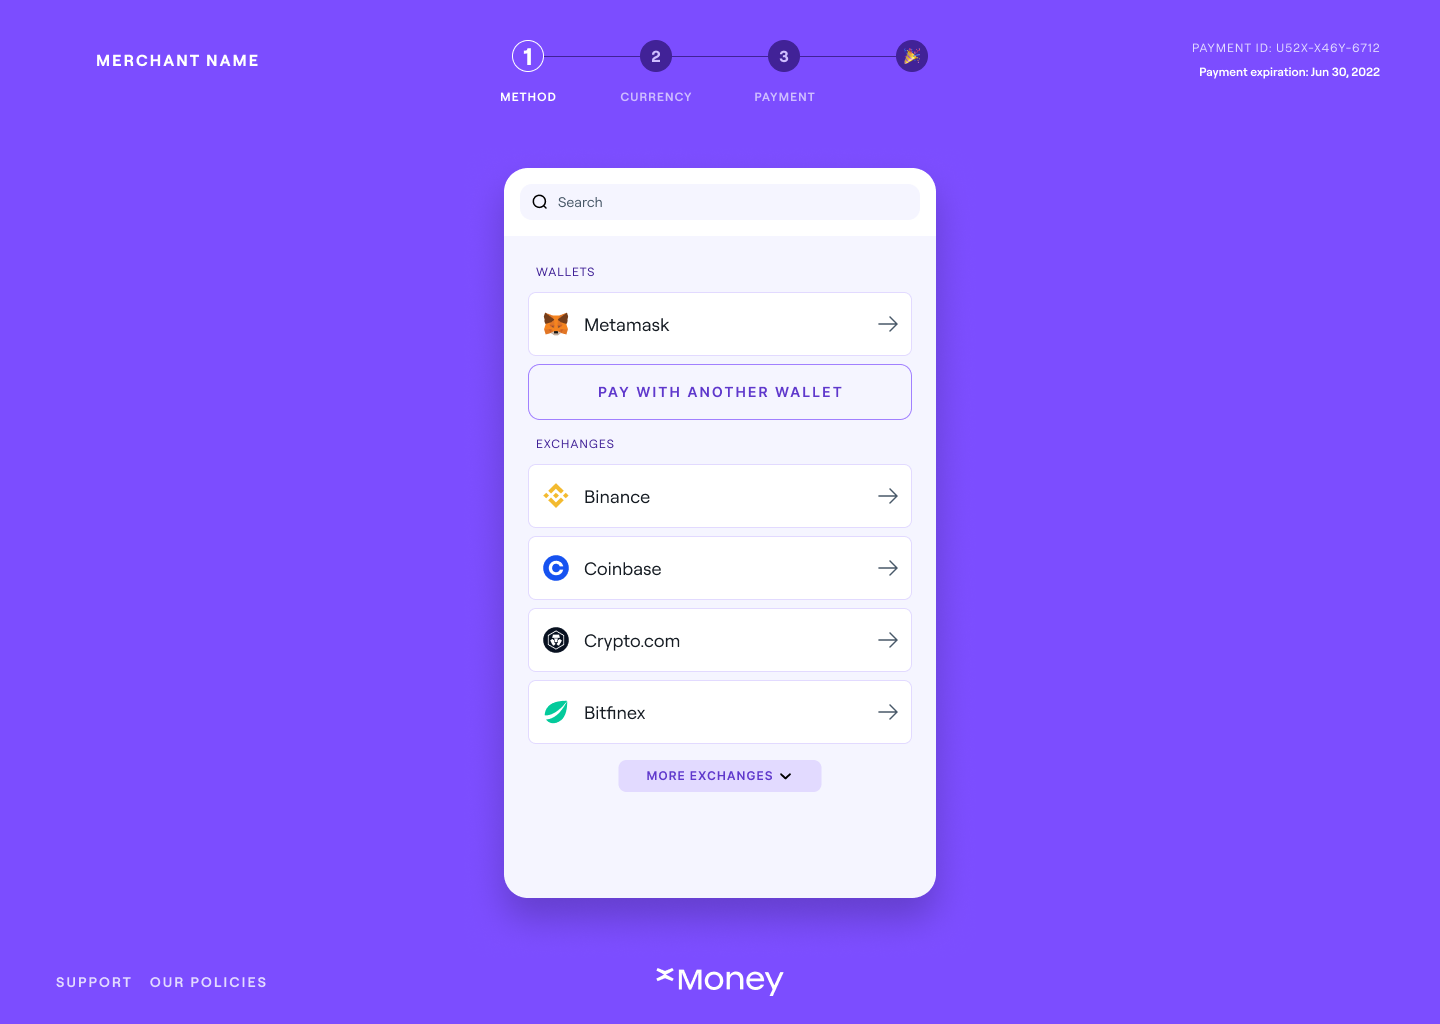
When you are ready, go to our Sandbox online store and give it a spin by selecting an item and proceeding to checkout. Choose the xMoney payment method. Once you proceed to the payment, you will see xMoney Payment Widget.
Confirm prefilled email or fill in the one you want to use.
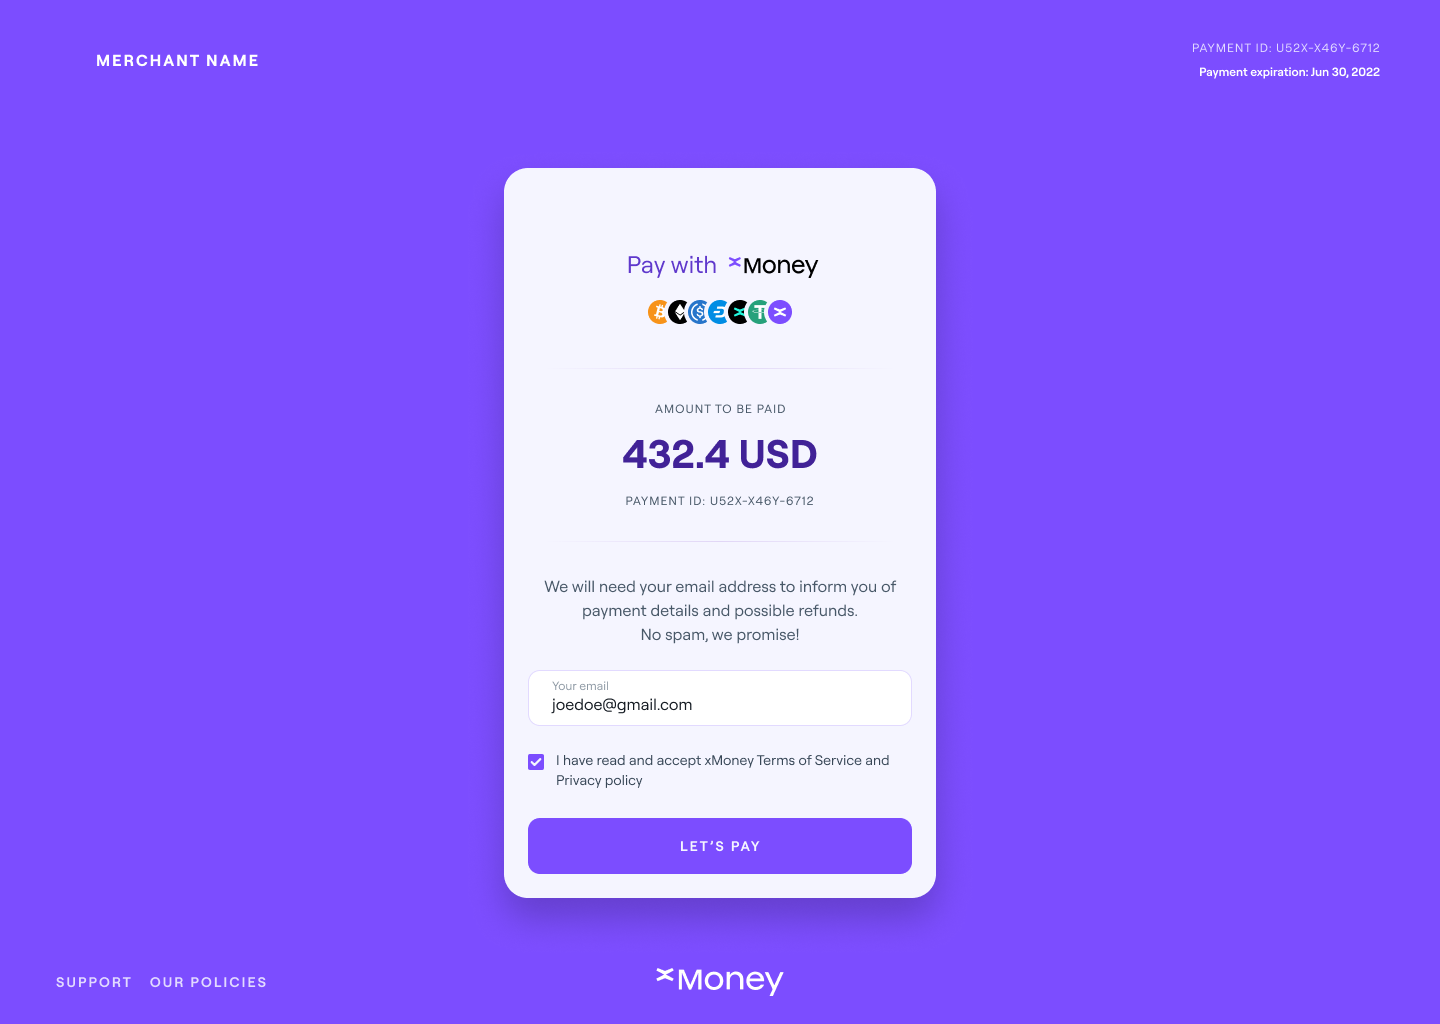
Select Pay with another wallet.
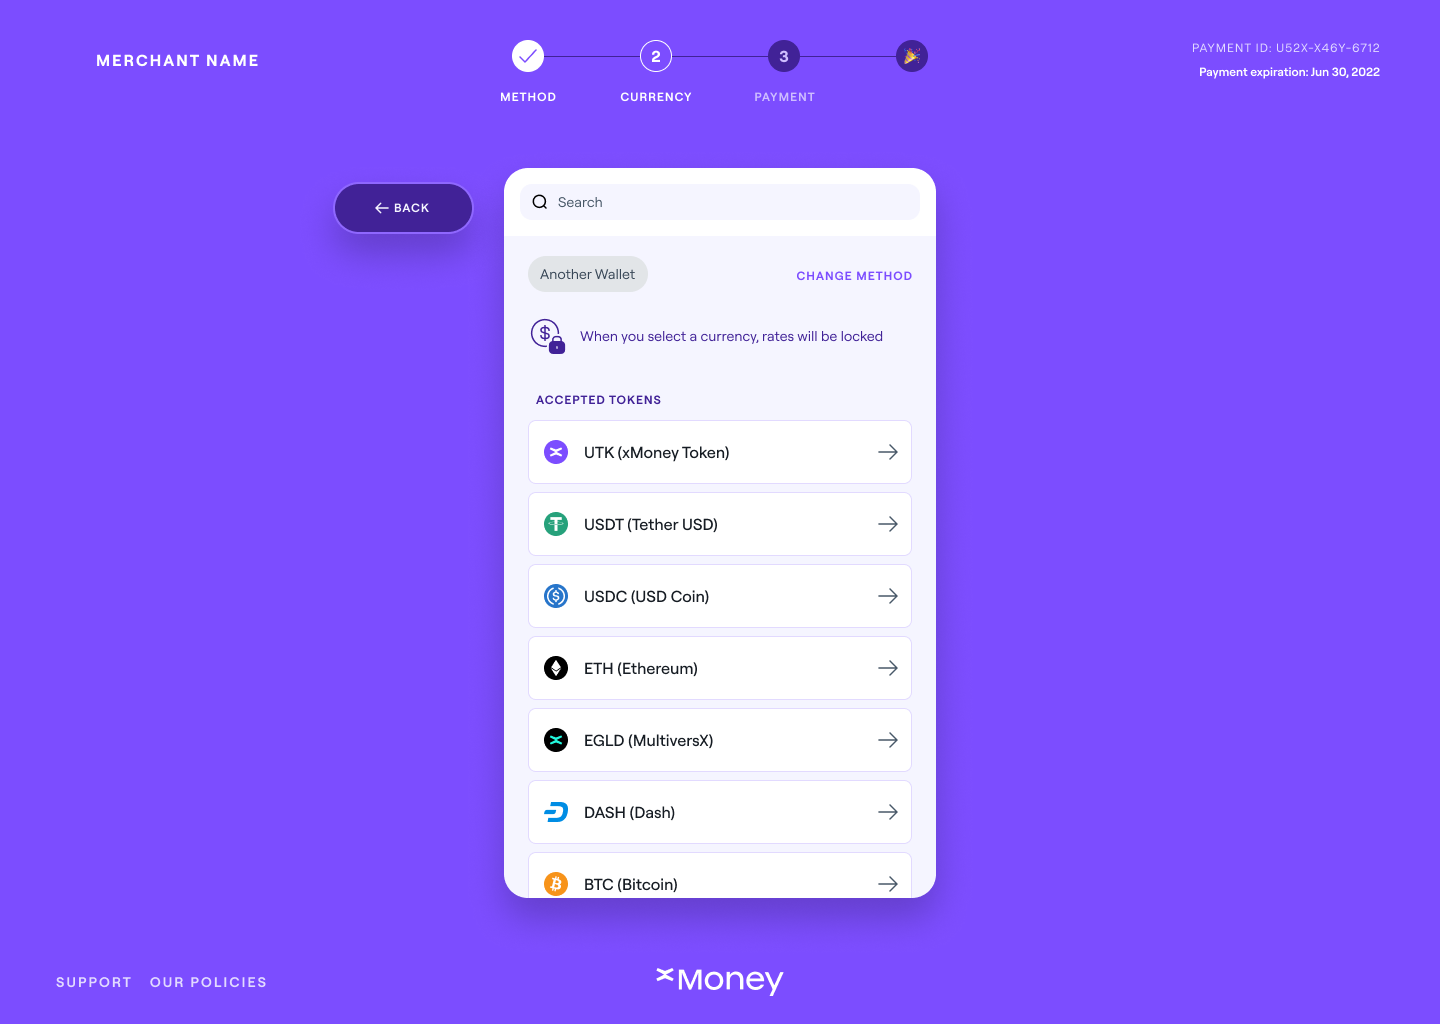
Select the EGLD (MultiversX) currency.
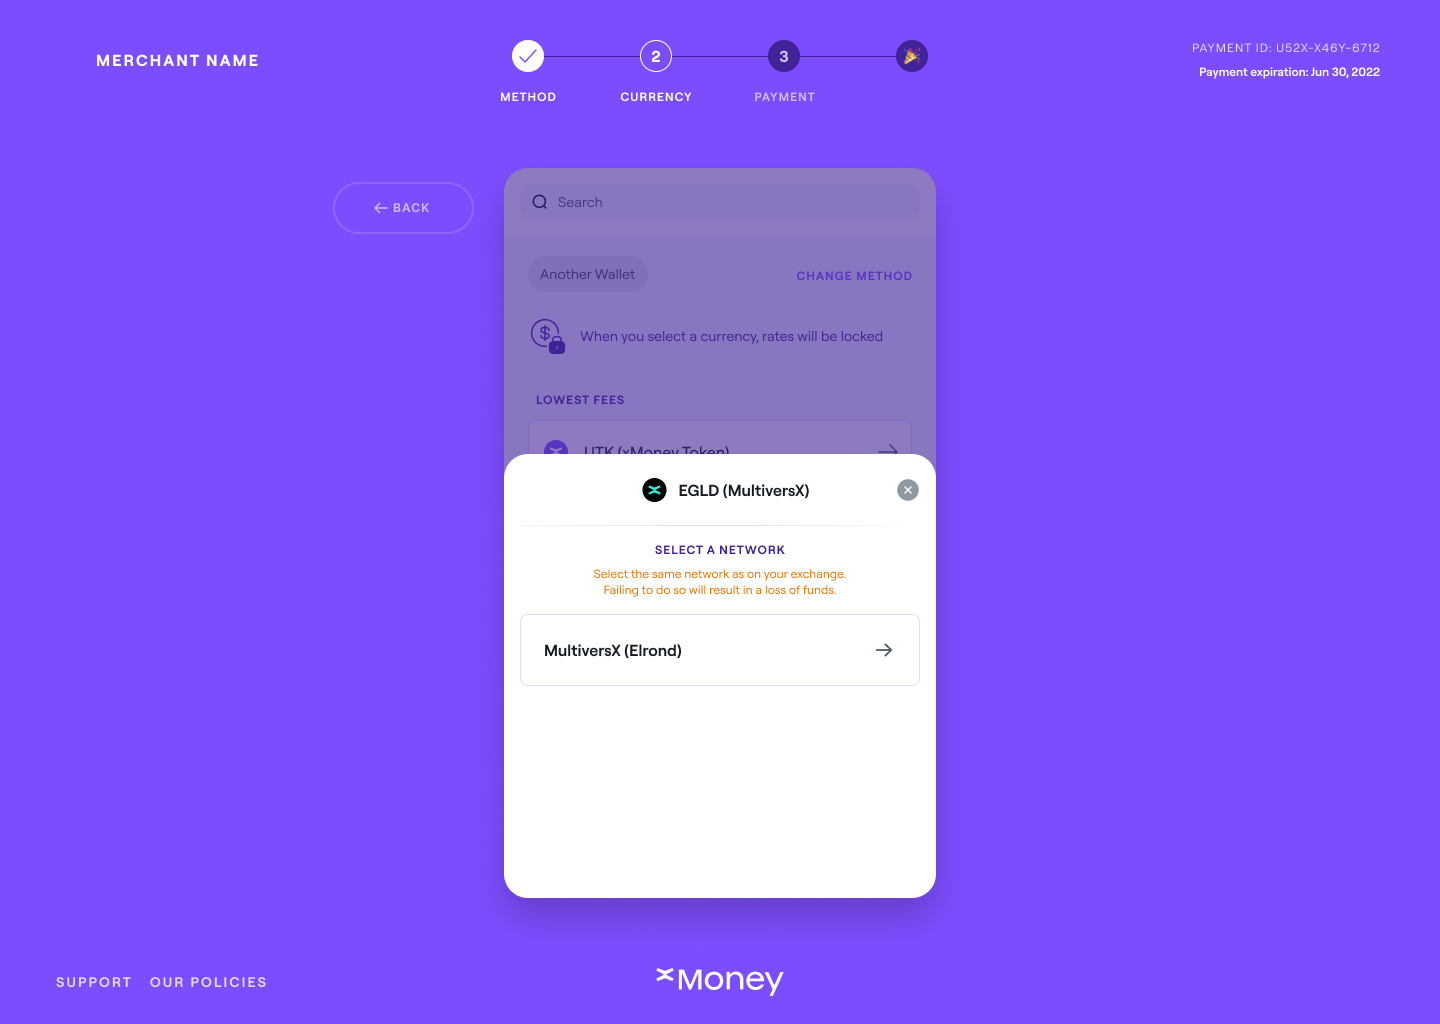
Select MultiversX network.
The widget will then show you a QR Code with the payment details. Copy the address and amount.
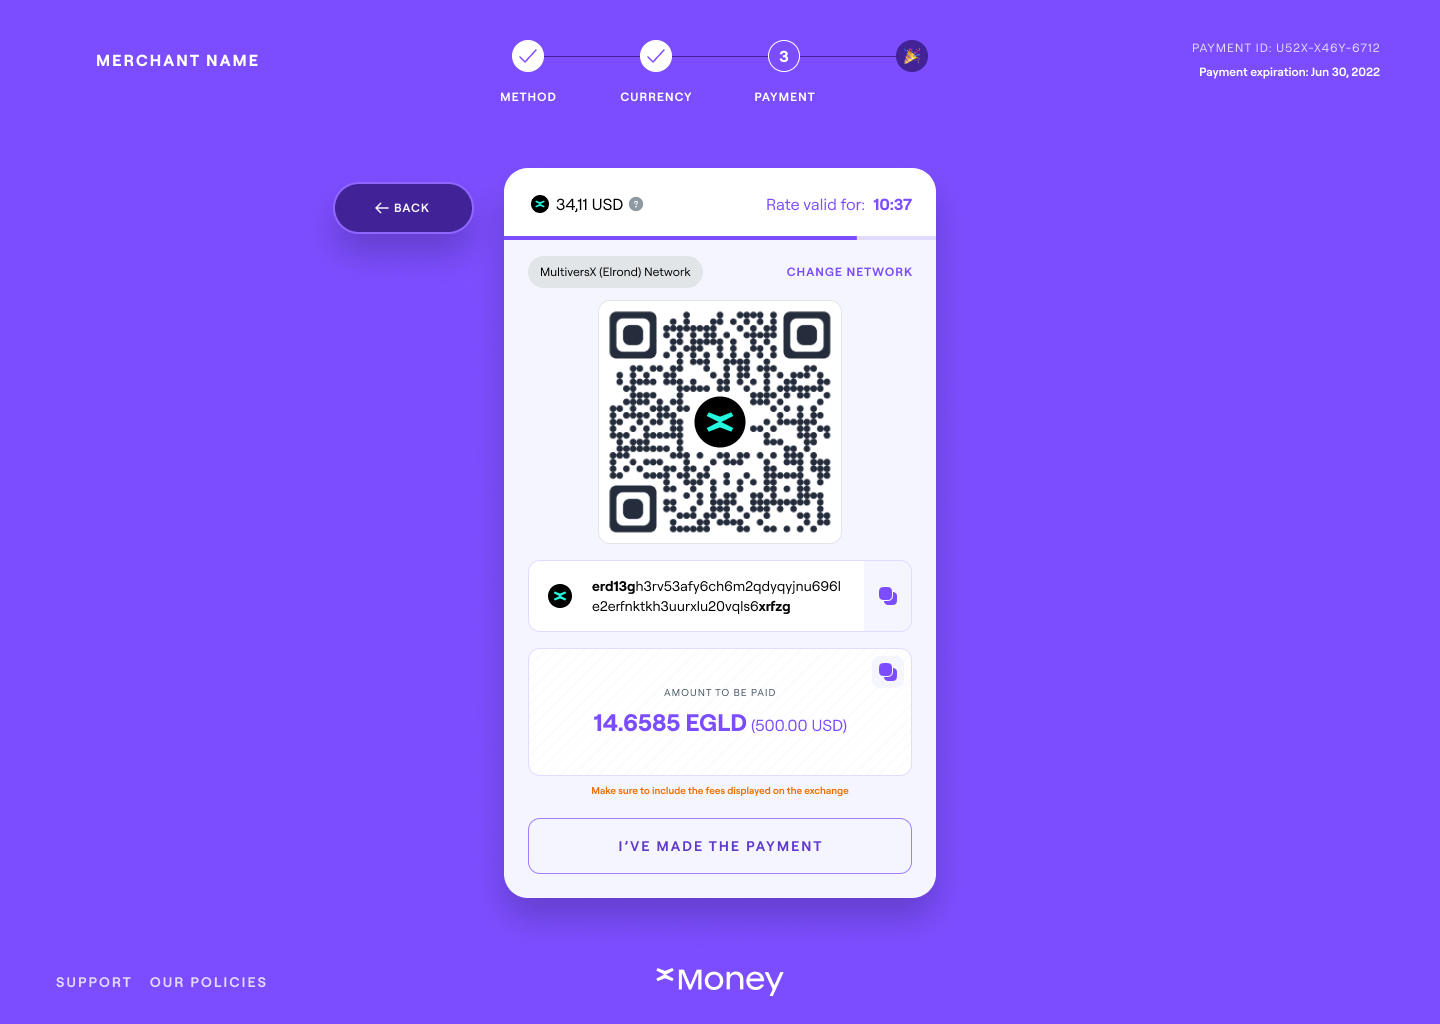
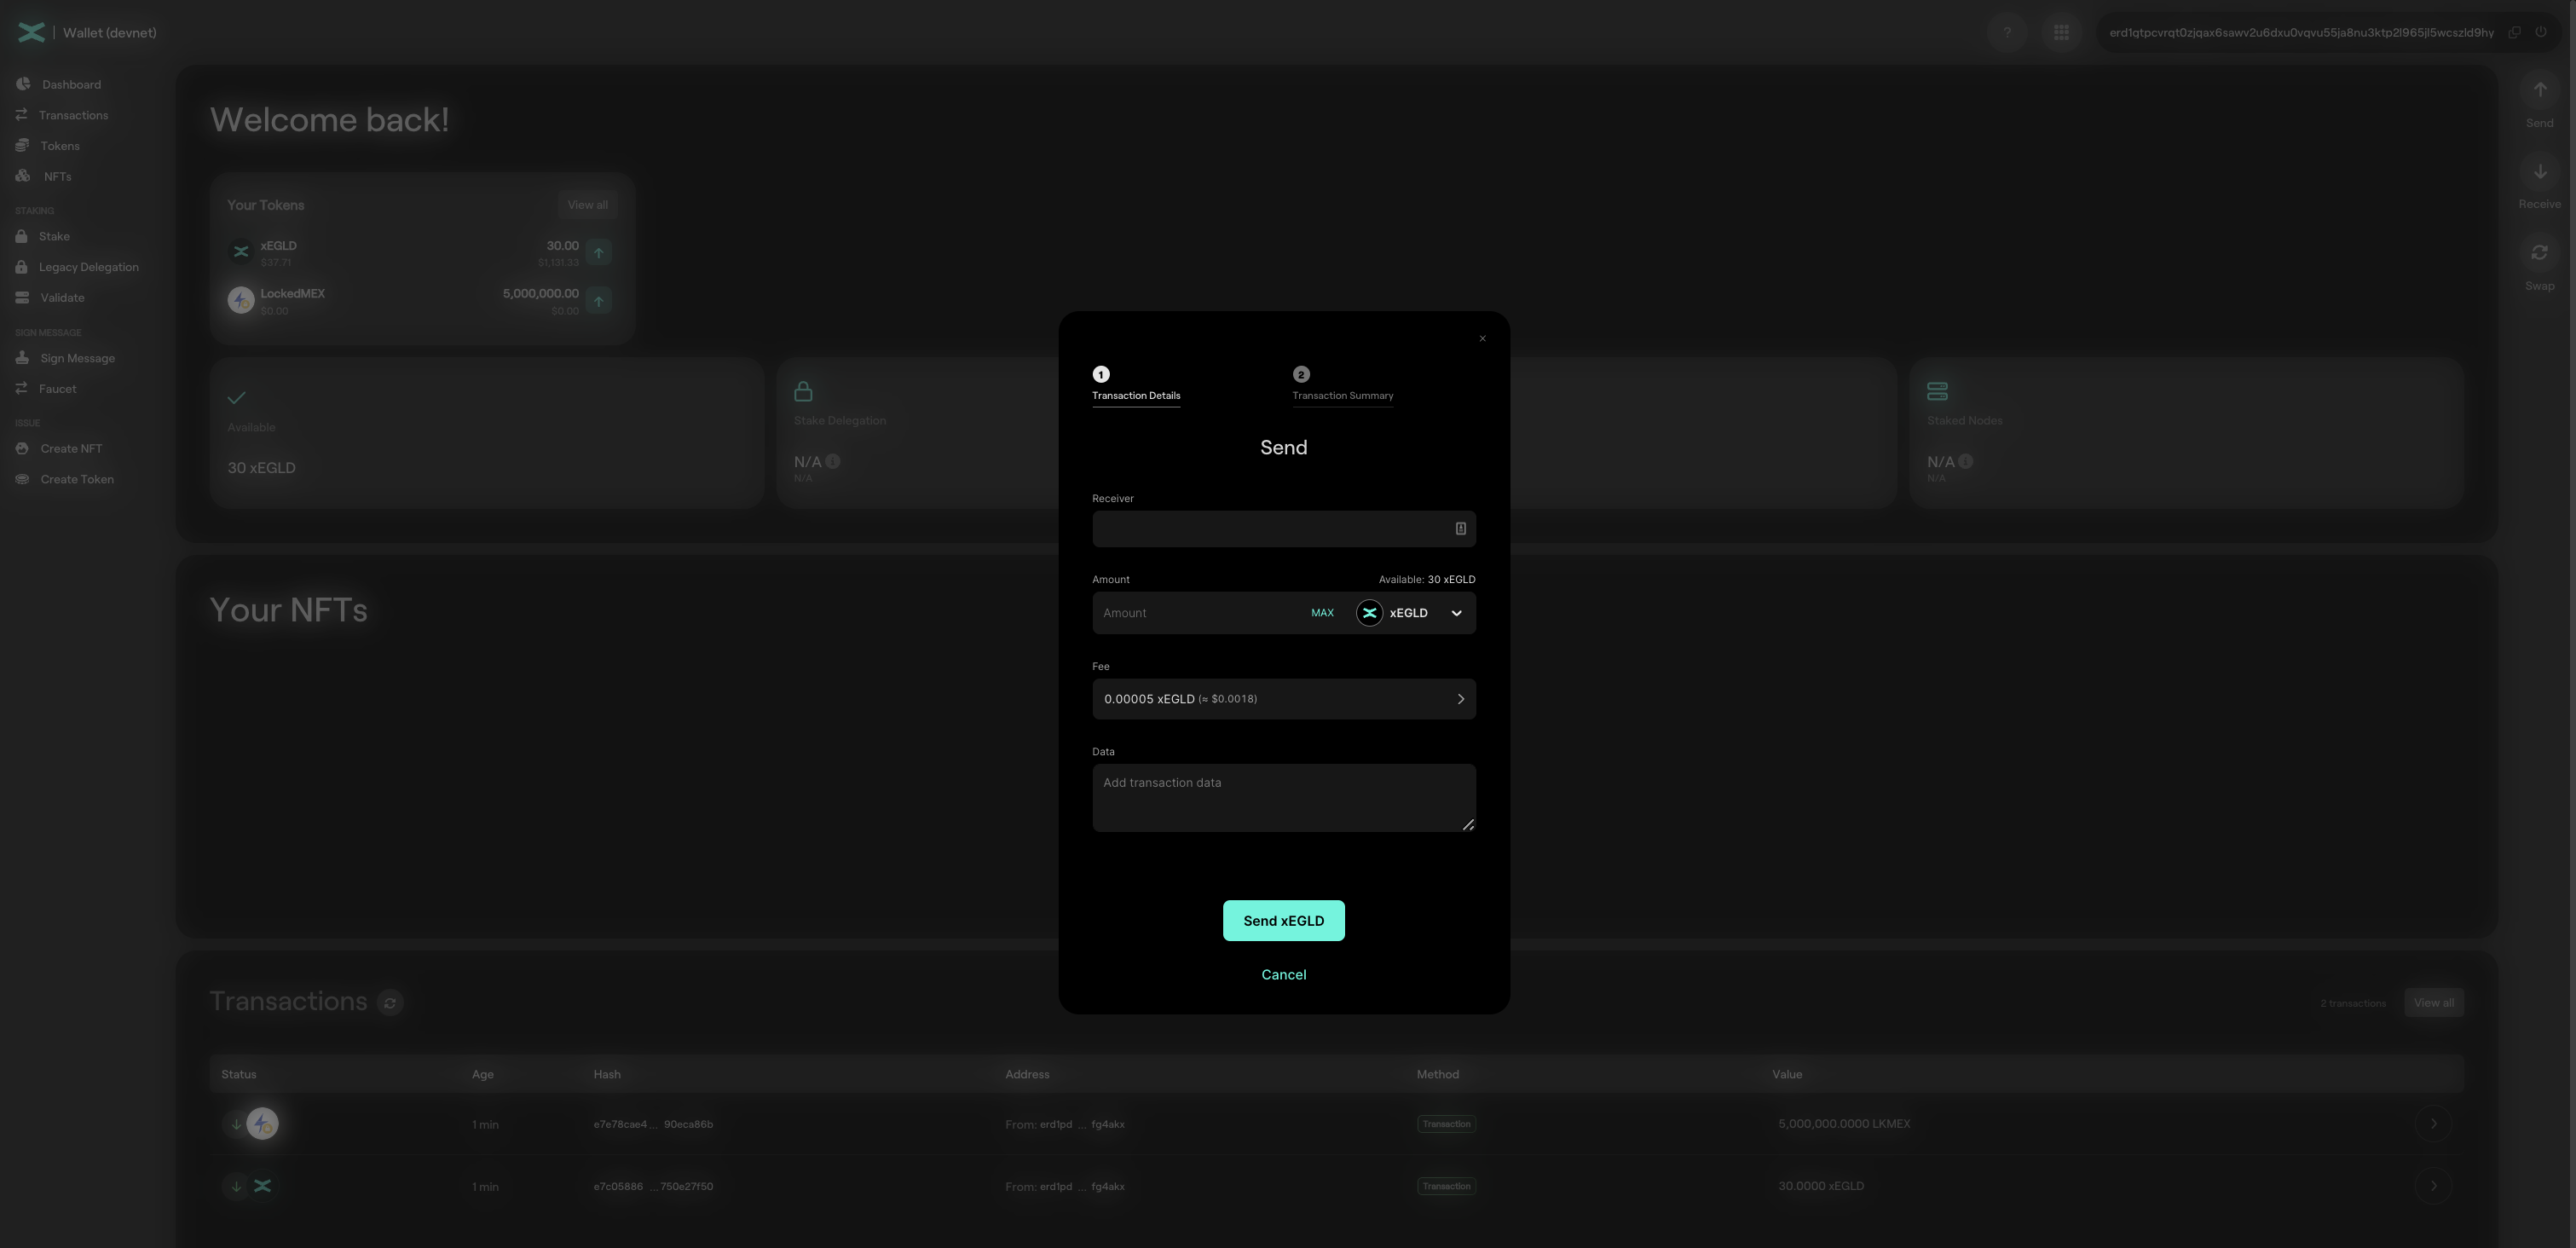
Open Elrond wallet and send the amount in xEGLD to the provided address.
Wait some seconds, and the widget should change to show the payment is complete.
For EGLD, the payment is complete because transactions are confirmed very fast. For other cryptocurrencies, it can take some minutes to confirm. Either way, the confirmation notification will we delivered to the merchant server, via webhook.